Tutorial, in depth
Recipes 2.0, chapter by chapter.
A friendly walkthrough. No jargon, no assumptions, and a big hint at the end: you can let Kitchen Assist do most of the work.
Why we built Recipes 2.0
A recipe you can cook from without holding it all in your head.
Most recipes on the internet are a wall of text. The ingredient list sits at the top, the instructions sit below, and you spend the whole meal scrolling up and down trying to remember what goes in next.
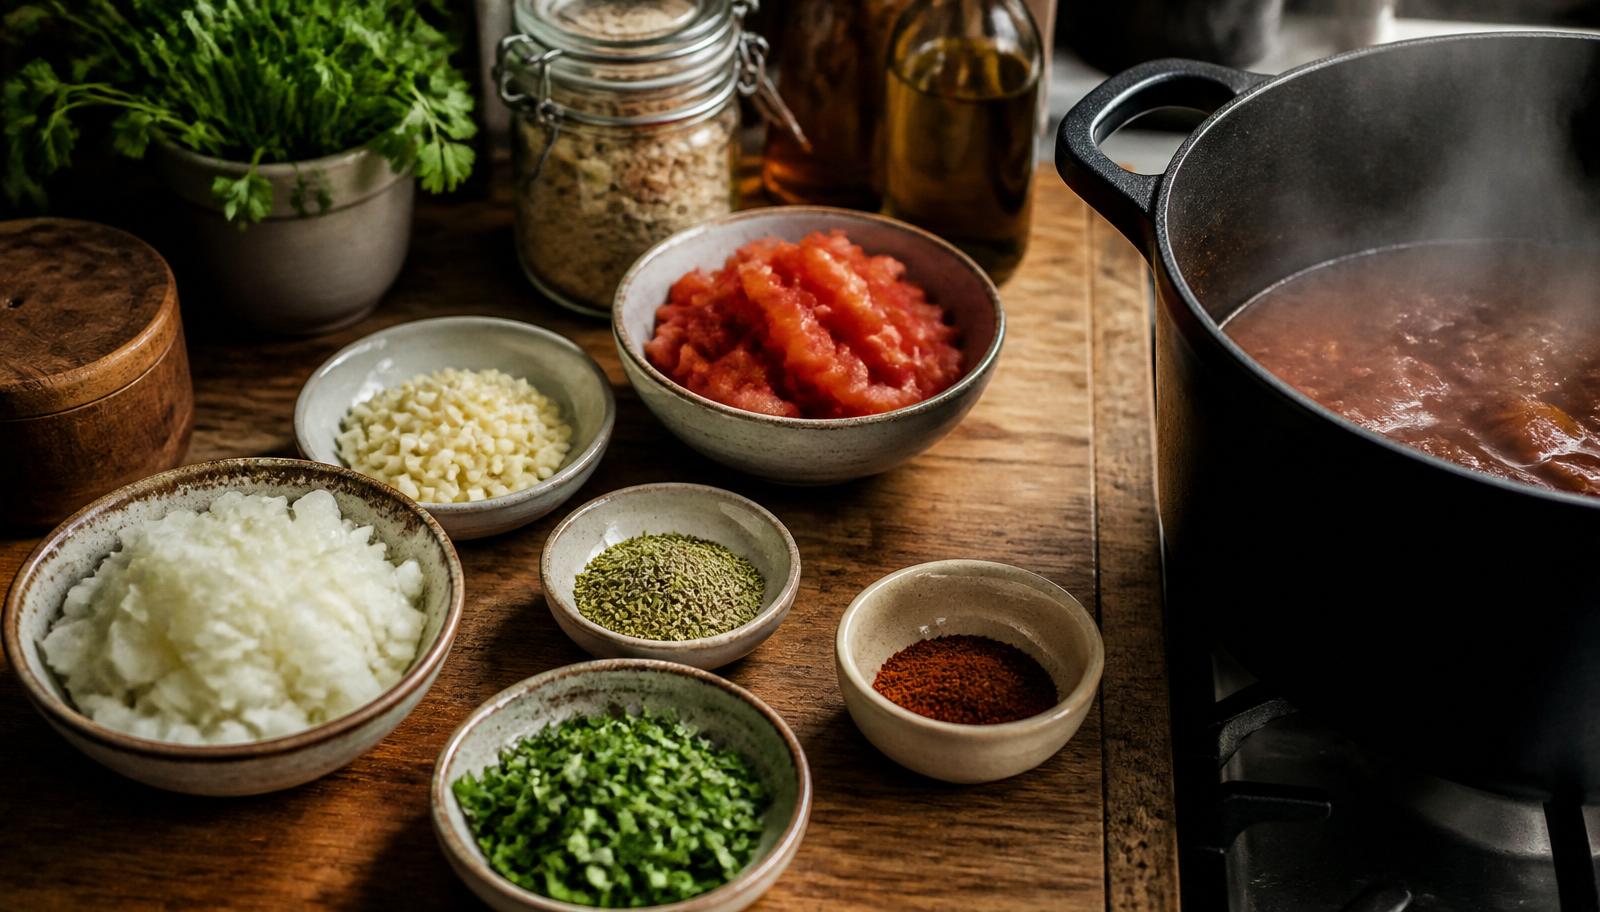
Recipes 2.0 breaks a recipe into the same small pieces that a home cook already uses: little bowls of prepped ingredients, the pots and pans you cook them in, and the phases of cooking, like prep, then brown, then simmer.
The screen only shows you what you need right now. When it is time to brown the onions, you see the onions and the pan. When it is time to add the tomatoes, they light up. You do not have to remember what is coming next, the recipe does that for you.
You never have to build one from scratch, either. Kitchen Assist can turn a recipe you paste in, or even a photo of a cookbook page, into a full Recipes 2.0 layout in about a minute.
- The classic ingredient list is still there. Recipes 2.0 sits on top of it, it does not replace it.
- If any of this feels like too much, let Kitchen Assist do the whole thing and just cook from the result.
The three big ideas
Prep bowls, vessels, and stages. Everything else is a detail.
Before we build anything, it helps to know the three words the app uses. They are just short names for things you already do in your kitchen.
A prep bowl is a small bowl that holds ingredients you have already measured out and chopped. Think of the little glass bowls a TV chef has lined up before they start cooking.
A vessel is any pot, pan, sheet tray, or mixing bowl that food goes into. The app keeps track of what is currently in each one, so if you pour the sauce into the Dutch oven, the app knows the Dutch oven now has sauce in it.
A stage is a phase of cooking. Most recipes have a few: get everything chopped and ready, then brown the meat, then simmer, then finish and plate. Each stage groups the steps that happen in the same window of time.
In plain English
- Prep bowl
- A small bowl that holds one ingredient you have already measured and chopped. Think of the little glass bowls a TV chef lines up before they start cooking.
- Vessel
- A fancy word for a container. A pot is a vessel. A sheet pan is a vessel. A mixing bowl is a vessel. If food goes in it, it is a vessel.
- Stage
- A part of the recipe that happens together. Prep is a stage. Cooking the sauce is a stage. Plating is a stage.
The easiest way to start, Kitchen Assist
Most people never build one by hand. Here is why.
Open the app, tap the plus button, and choose New recipe. You will see two options: build it yourself, or let Kitchen Assist do it.
If you have a recipe already, in any form, hand it to Kitchen Assist. You can paste in text from a website, type it in from memory, or even take a photo of a page in a cookbook. Kitchen Assist reads it, figures out the ingredients, the steps, the timers, and the stages, and hands you back a finished Recipes 2.0 recipe.
It is not always perfect on the first try. Read through it, tap on anything that looks off, and fix it. Most people spend a few minutes editing rather than an hour building.
Try it, step by step
- 1Find a recipe you already love. A printed one, a webpage, or one in your head.
- 2Tap the plus button in the app and choose New recipe, then Use Kitchen Assist.
- 3Paste the text, or tap the camera icon to take a photo of the recipe page.
- 4Wait about a minute. Kitchen Assist shows you the finished recipe when it is ready.
- 5Read it top to bottom. Fix anything that looks wrong by tapping on it.
Let Kitchen Assist do it for you
Kitchen Assist is the recommended way to make a Recipes 2.0 recipe. Chapters 4 through 7 explain what it did behind the scenes, so you can tune it. You do not need to memorize any of it.
Ingredients, and grouping them into bowls
The first thing the app does is read your ingredient list.
Whether you or Kitchen Assist built the recipe, the first section is always the full list of ingredients. Every quantity, every unit, every note.
Next to each ingredient is a little label saying which prep bowl it belongs to. Ingredients that go into the pan together belong in the same bowl. So the diced onion and the minced garlic that both go in during the same step belong in one bowl called, say, onion and garlic.
If Kitchen Assist grouped something wrong, tap the ingredient and pick a different bowl. If you want to start over, tap the bowl name and rename it, or create a new one.
You do not have to bowl every ingredient. Salt and pepper for finishing usually stay loose. That is fine.
- Name bowls by what they will do: aromatics, tomato base, finishing herbs. Skip clever names.
- If you find yourself opening and closing three bowls at the same moment, they should probably be one bowl.
Vessels, the pots and pans
Tell the recipe which pans it lives in.
In the vessels section, you list every pot, pan, tray, and mixing bowl the recipe uses. Give each one a short, plain name, like big pot, small saucepan, or sheet tray.
This is what lets the cooking view show you which pan to reach for at every step. When it is time to sear, the big pot lights up on your screen. When it is time to bake, the sheet tray lights up.
Kitchen Assist usually adds these for you when it builds the recipe. You just double check that the names match your actual kitchen. If you call it a Dutch oven at home, rename it Dutch oven so nothing is confusing later.
- Cutting board and mixing bowls count too. They are vessels.
- Include the pan's role in the name, like big pot for the stew. It reads more naturally while you cook.
Stages and steps
One thing at a time, in the right order.
A stage is just a section of the recipe. Most recipes have four or five: get everything ready, cook the aromatics, add the main ingredients, simmer, finish and serve.
Inside a stage are steps. A step is one small action, like chop the onion, or brown the beef. Short steps are better than long ones. If a step has the word and in it twice, it should probably be two steps.
When you cook, the app only shows you one stage at a time. You tap through the steps as you finish them. The next stage opens when the last step is done.
- Keep stage names short: prep, sear, simmer, finish. Everyone understands them.
- If a step feels too small, that is a good sign. Little steps are easier to follow when your hands are full.
Timers that keep counting
Set it, walk away, trust it.
Any step can have a timer. Simmer for twenty minutes, rest for ten, bake for forty-five. Kitchen Assist adds timers when it sees them in the original recipe.
Tap a timer in the cooking view to start it. It runs on the real clock, so it keeps counting even if your phone screen turns off, or you get a phone call, or you open a different app.
When the timer runs out, a soft chime plays. If your phone was locked, it still chimes as soon as you unlock it, no matter how long ago the timer ended. You will not miss it.
- You can have more than one timer running at once. Two burners, two timers.
- Prop your phone up somewhere you can hear it. You do not need to stare at the screen.
Cooking from the recipe
The screen you actually use with your hands wet.
When you are ready to cook, open the recipe and tap the big Cook button. Everything else on the screen goes away. You see one stage, a list of the steps in it, and the bowls and pans you need for that stage.
Tap a step to expand it. Any bowl or pan it mentions lights up. Follow the step, tap it as done, and the next one opens.
If you get interrupted, close the app. When you come back, it opens right where you left off. Nothing is lost.
- Larger text is on by default in the cook view, so you can read it from across the counter.
- The screen stays awake while you are cooking. You will not have to keep tapping it.
The workflow that actually works
Cook it once, then let Kitchen Assist turn it into a 2.0 recipe.
Here is the honest advice: do not build a Recipes 2.0 recipe from scratch until you have cooked it at least once.
The first time you make something, you learn what really goes together, which pan you actually reach for, and where the recipe was unclear. That is exactly the information Kitchen Assist needs to make a good 2.0 layout.
So the flow is: cook it from the original recipe, note anything you did differently, then paste that improved version into Kitchen Assist. You will get back a 2.0 recipe that matches how you actually cook, not how the internet said to.
Come back and edit it after cook two. That is when it really starts to feel like your own.
Let Kitchen Assist do it for you
After you cook it once, tap Improve with Kitchen Assist on the recipe and describe what you changed. Kitchen Assist will update the ingredients, steps, and stages to match.
You made it to the end.
Nicely done.
Try what you learned, or head back and pick another tutorial.